The process of completing this project was unfortunately interrupted by an unforeseeable IT issues. Because of it, I had limited time and it is not made in an exact way I wish it was. In some parts, I do talk about what I would have done if that was not the case and explain how I found shortcuts and ways around it.
At the beginning I had a few different ideas I wanted to explore. As a film student, I definitely wanted to go for something more cinematic, in addition I always had an interest in “aesthetics” as a concept, so I wanted my project to have a fairly strong visual style and then use VFXs to enhance it, rather than creating an action based piece.
Among my favourite aesthetics are liminal spaces.
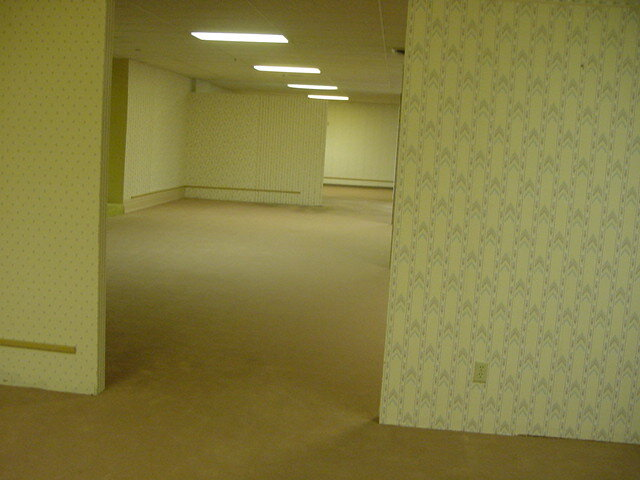
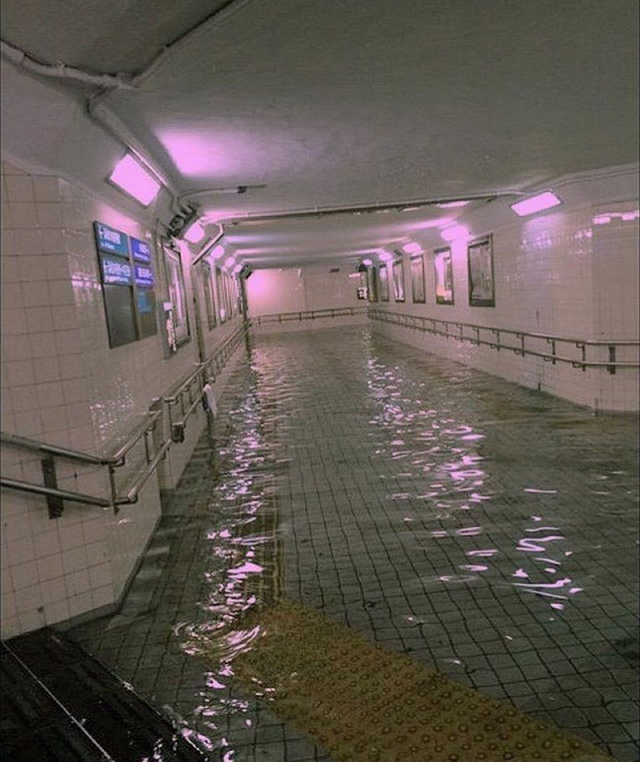
However, that idea seemed too basic, as this is one of the most popular things to be done by Blender/Unreal Engine users.
Another idea I had was to create something more dreamlike and surrealistic. I used mood boards created earlier for a different project.
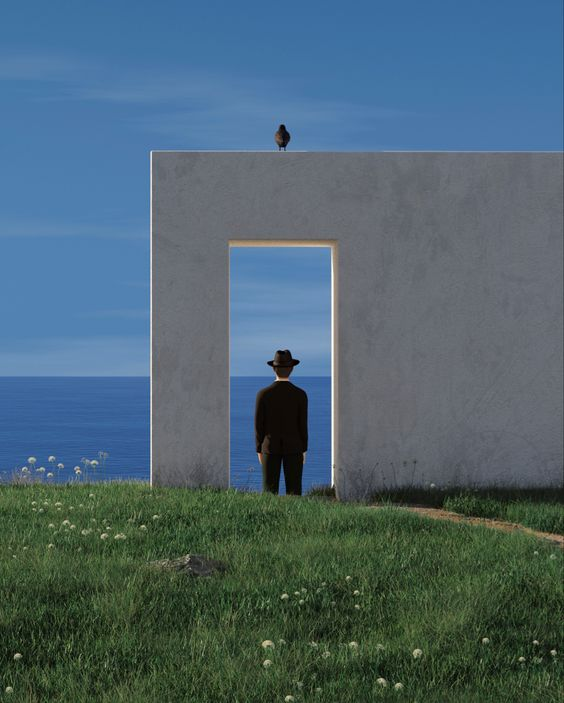
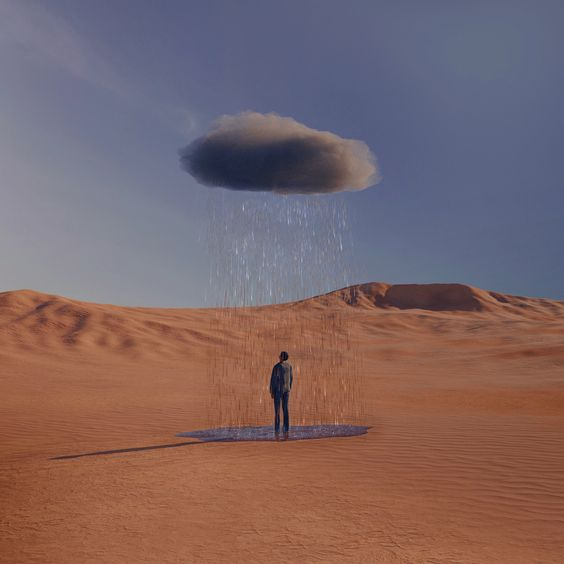
This idea had a potential of creating interesting visual effects – the problem I had with it was that, as a complete beginner to Unreal Engine, I was not sure if I could do it justice. This turned out to be a good idea, as, as it turned out, my time to complete this project ended up very limited. However, after completing this project and gaining more confidence, I am planning to create it for myself soon.
The last idea which later developed into what I ended up making was American Suburbs.

I had a lot of inspiration for it. One of the main two was artists Amy Bennet, whom I found in research for this project.

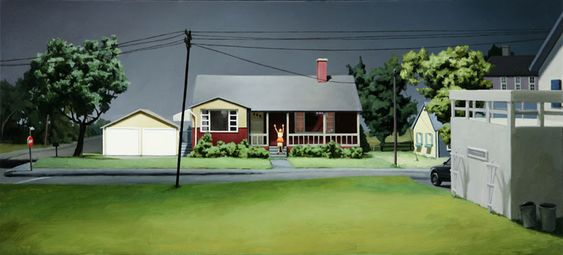
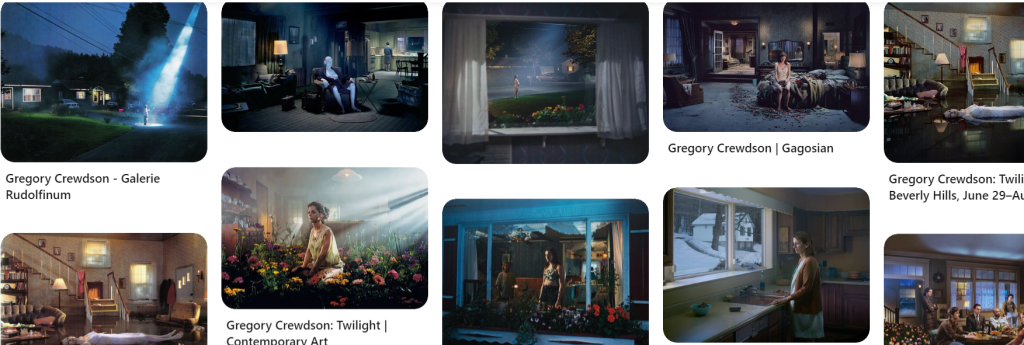
The other one was Gregory Crewdson, who has been one of my favourite photographers for years. I was always impressed with his use of light as well as simple, everyday settings, to create an extremely eerie effect.
I decided that I am going to use this idea for a few reasons. First was that I could have easily find a lot of inspiration online, as well as premade assets. Second, more important, was that I was trying to gain a knowledge that would be useful to me in my career and, as a film student, I am much more likely to use special effects to add to a setting that is realistic to begin with.
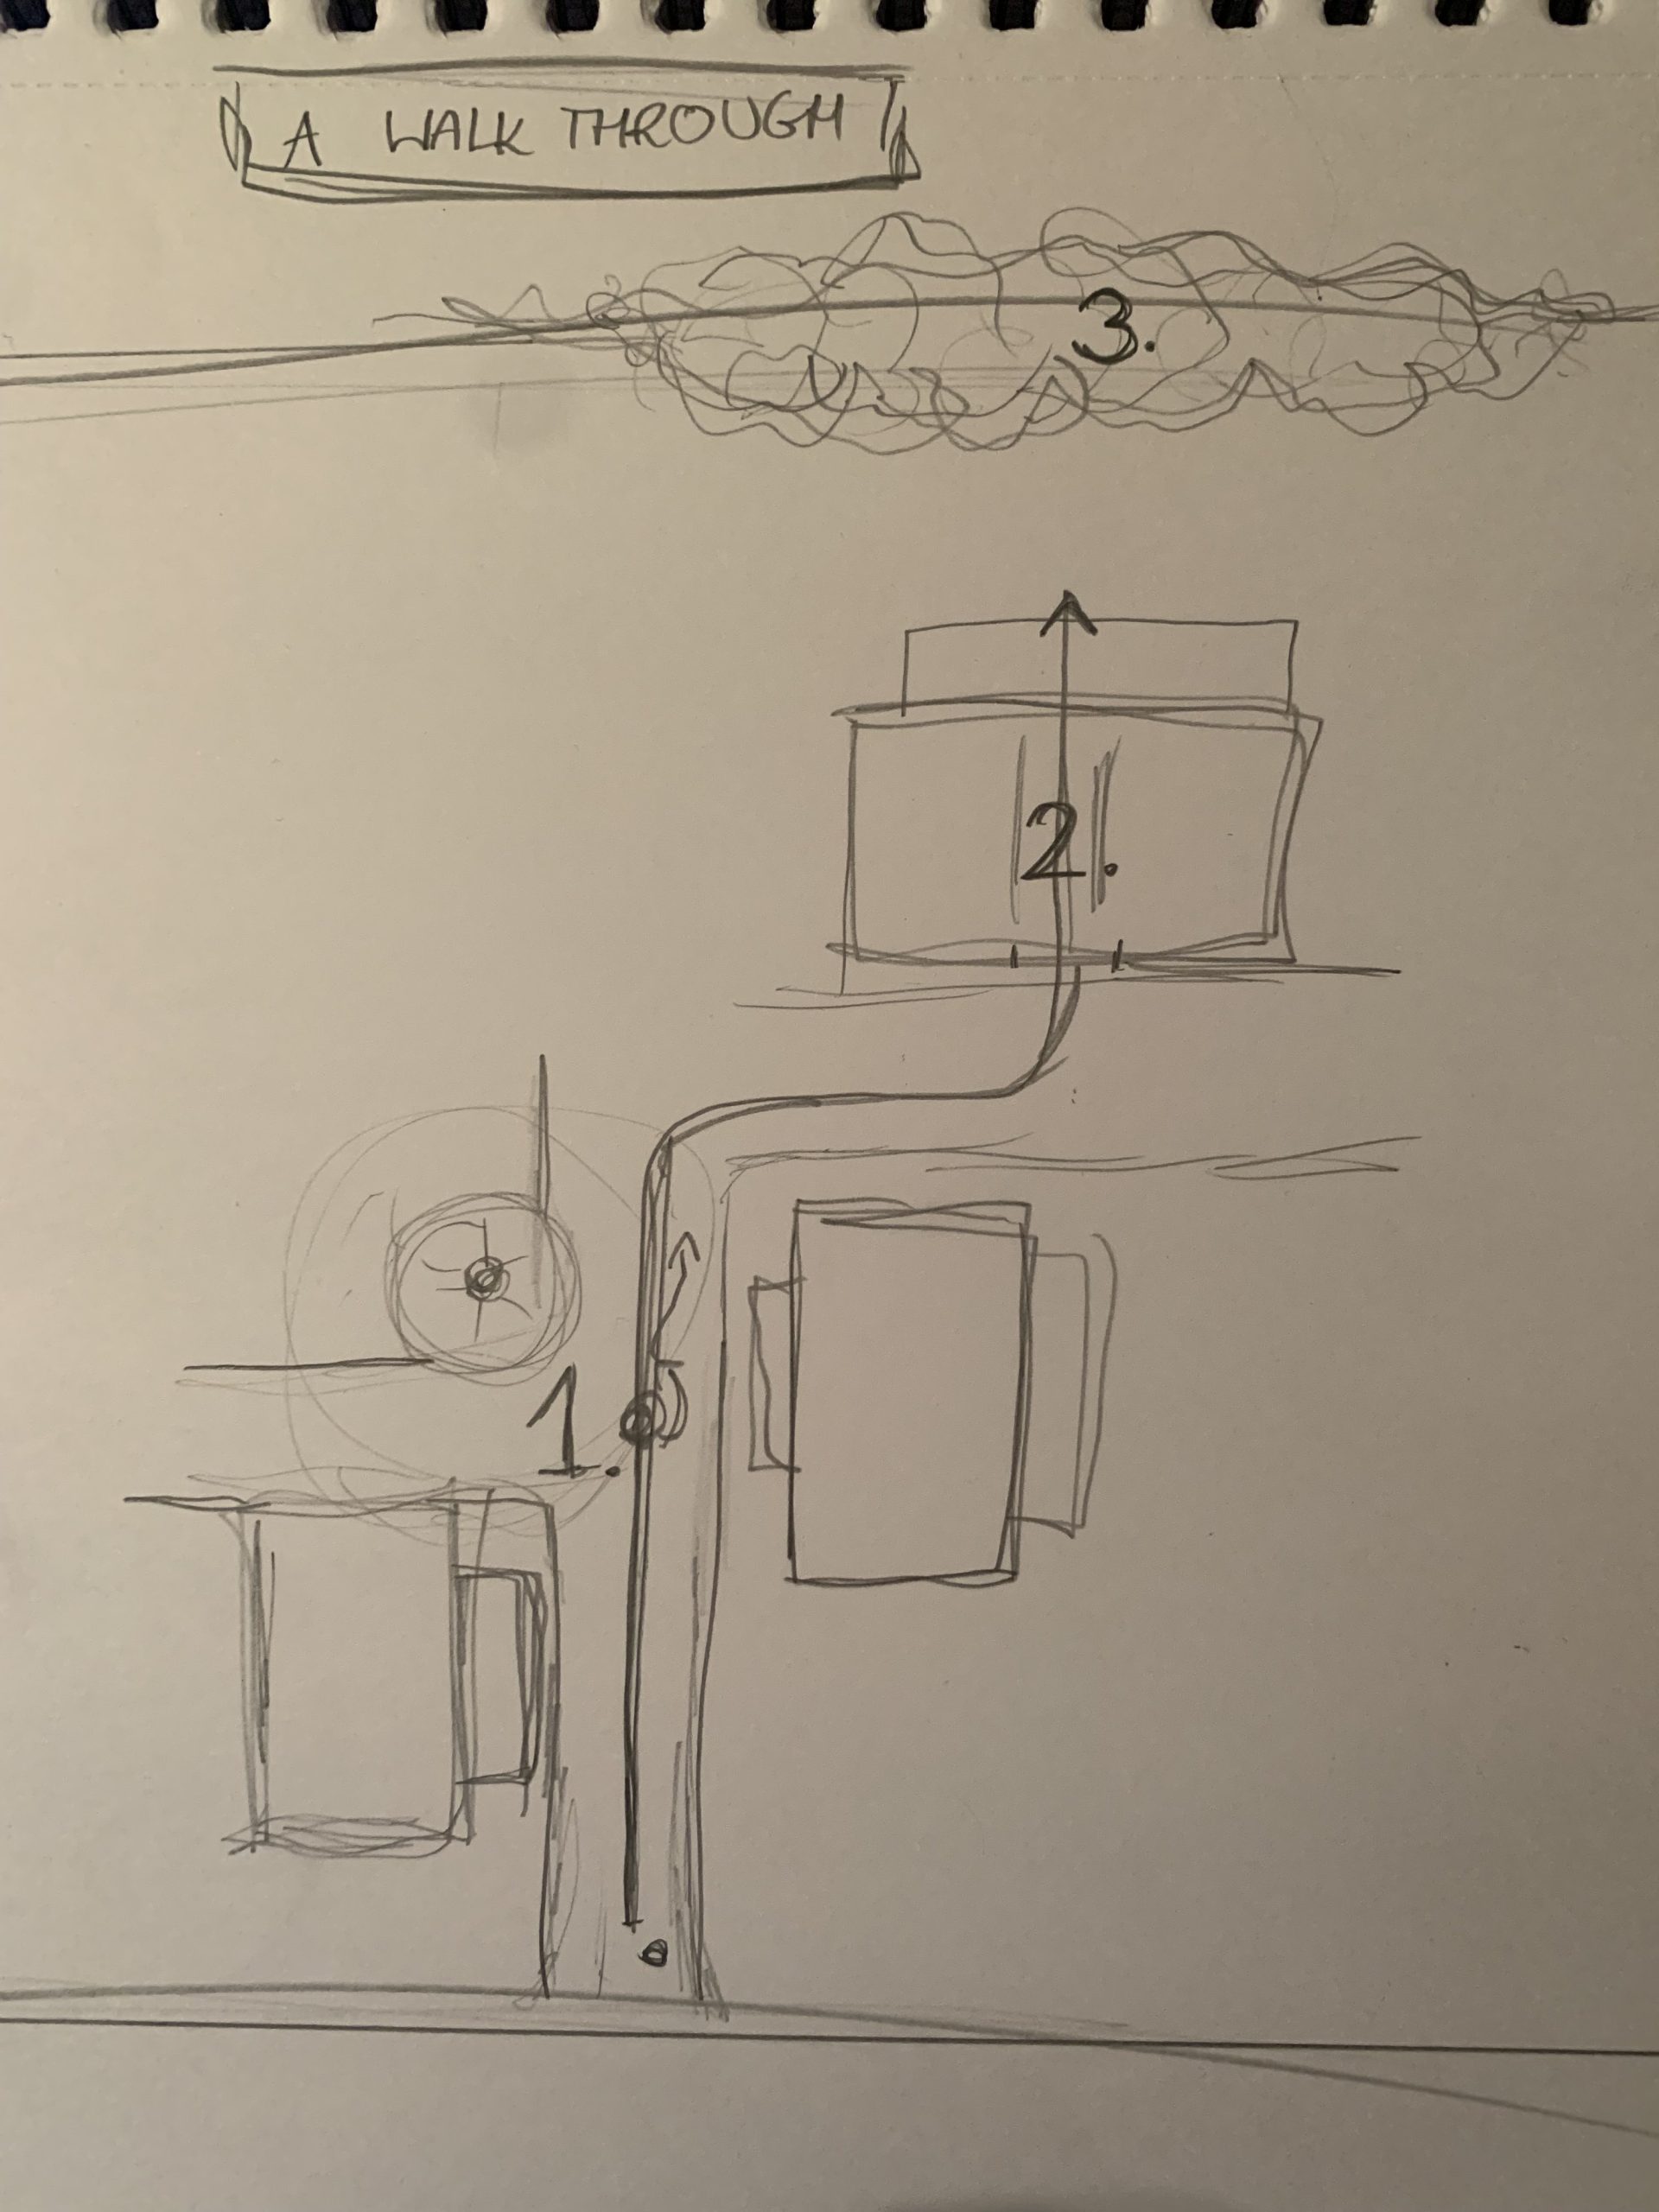
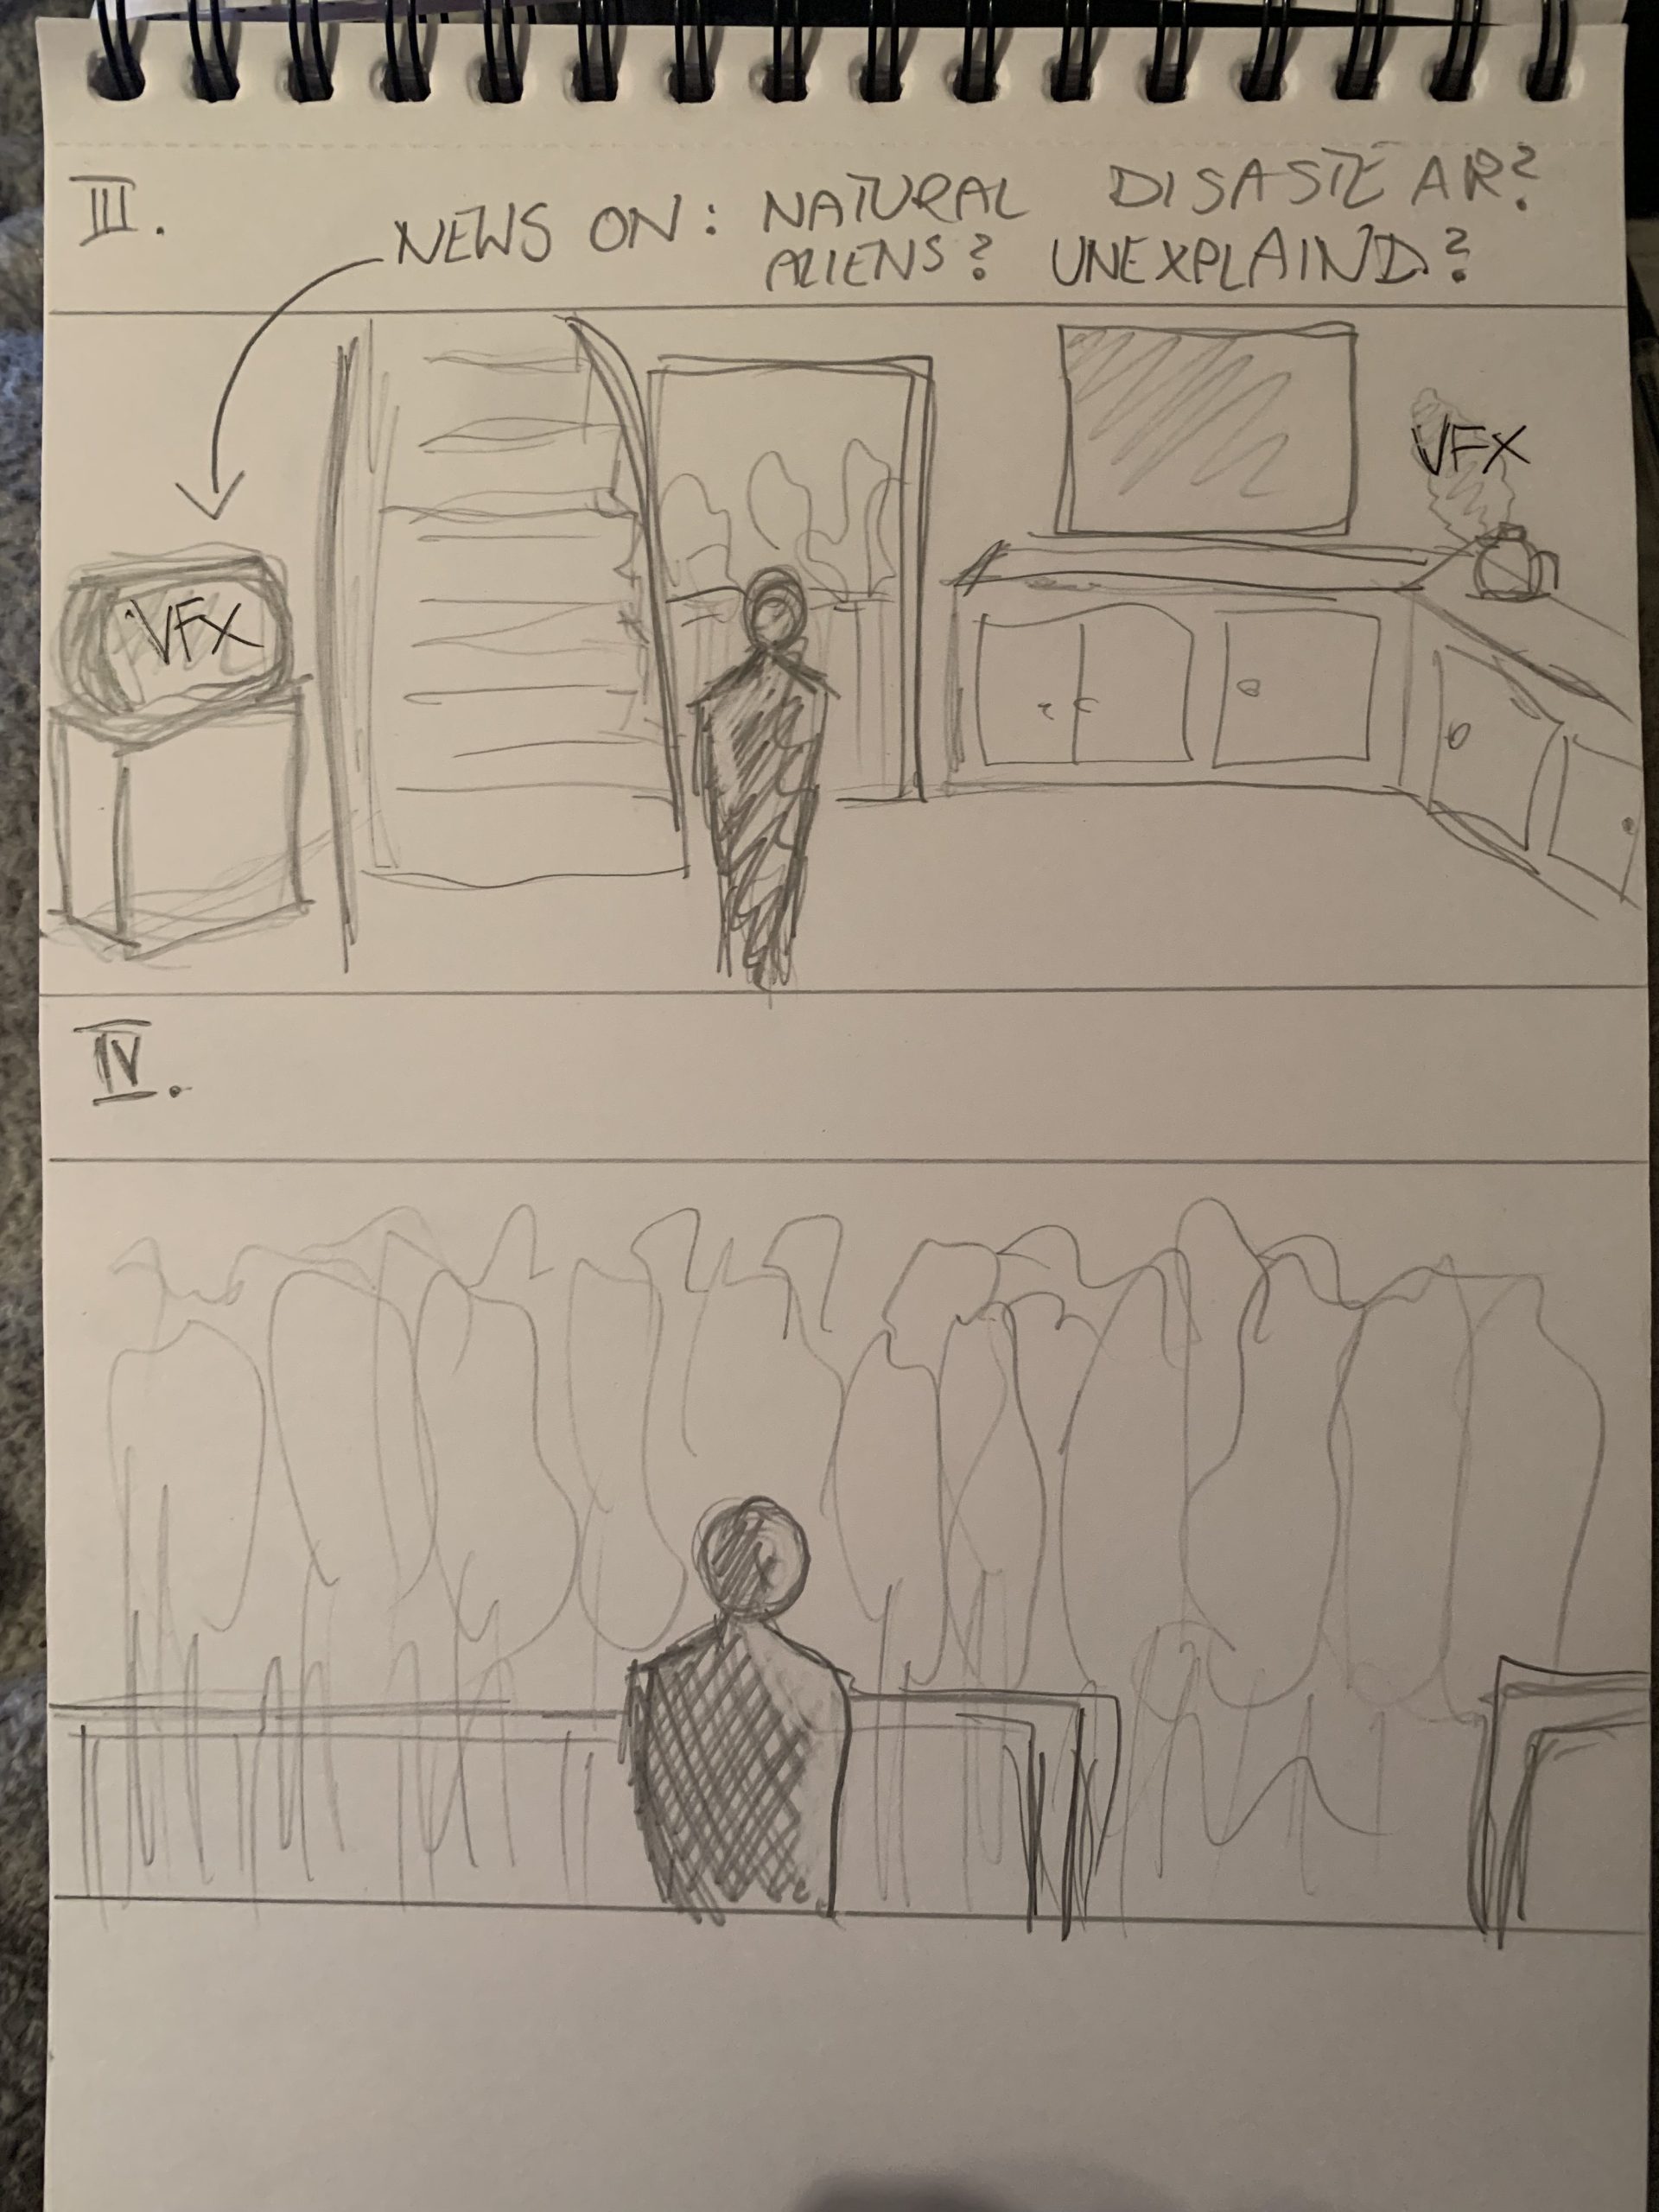
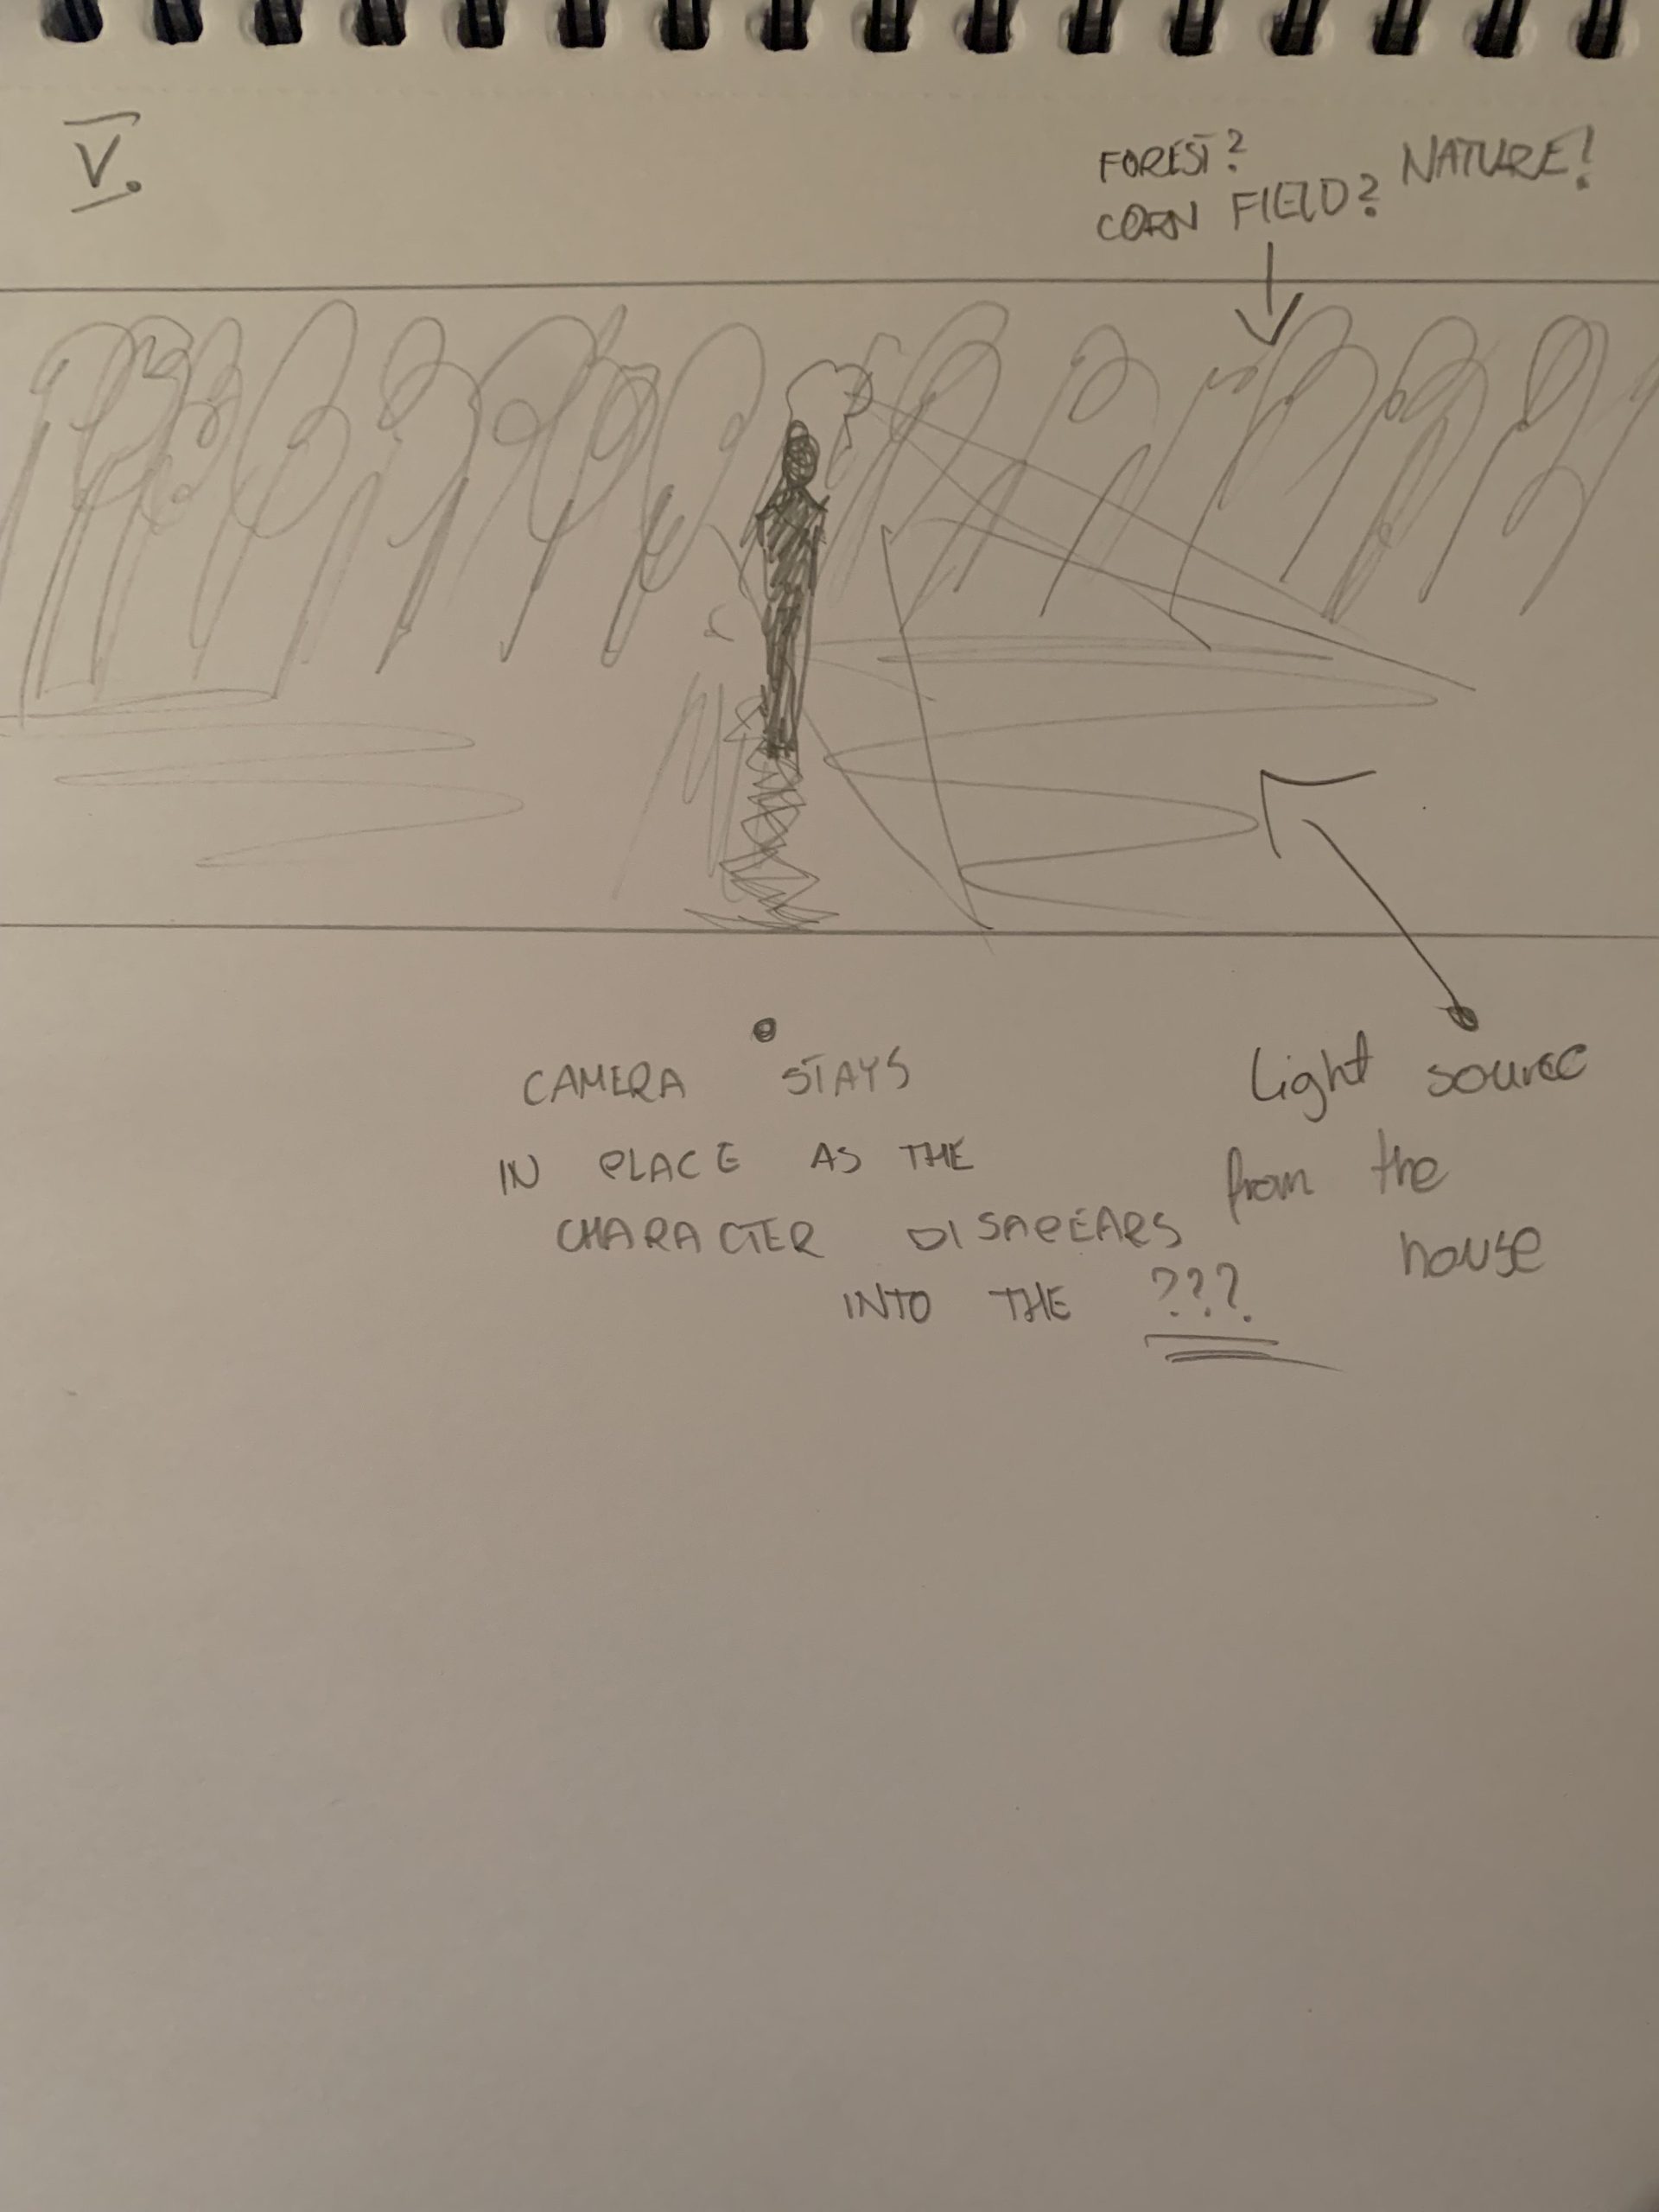
I decided to create a short storyline with the main character walking by a suddenly empty houses, and add a catastrophe/supernatural element to it. I also wanted to show both exteriors and interiors, and taking all of that into consideration, I planned out a simple walk-through and made some storyboards. The story I ended up with is:
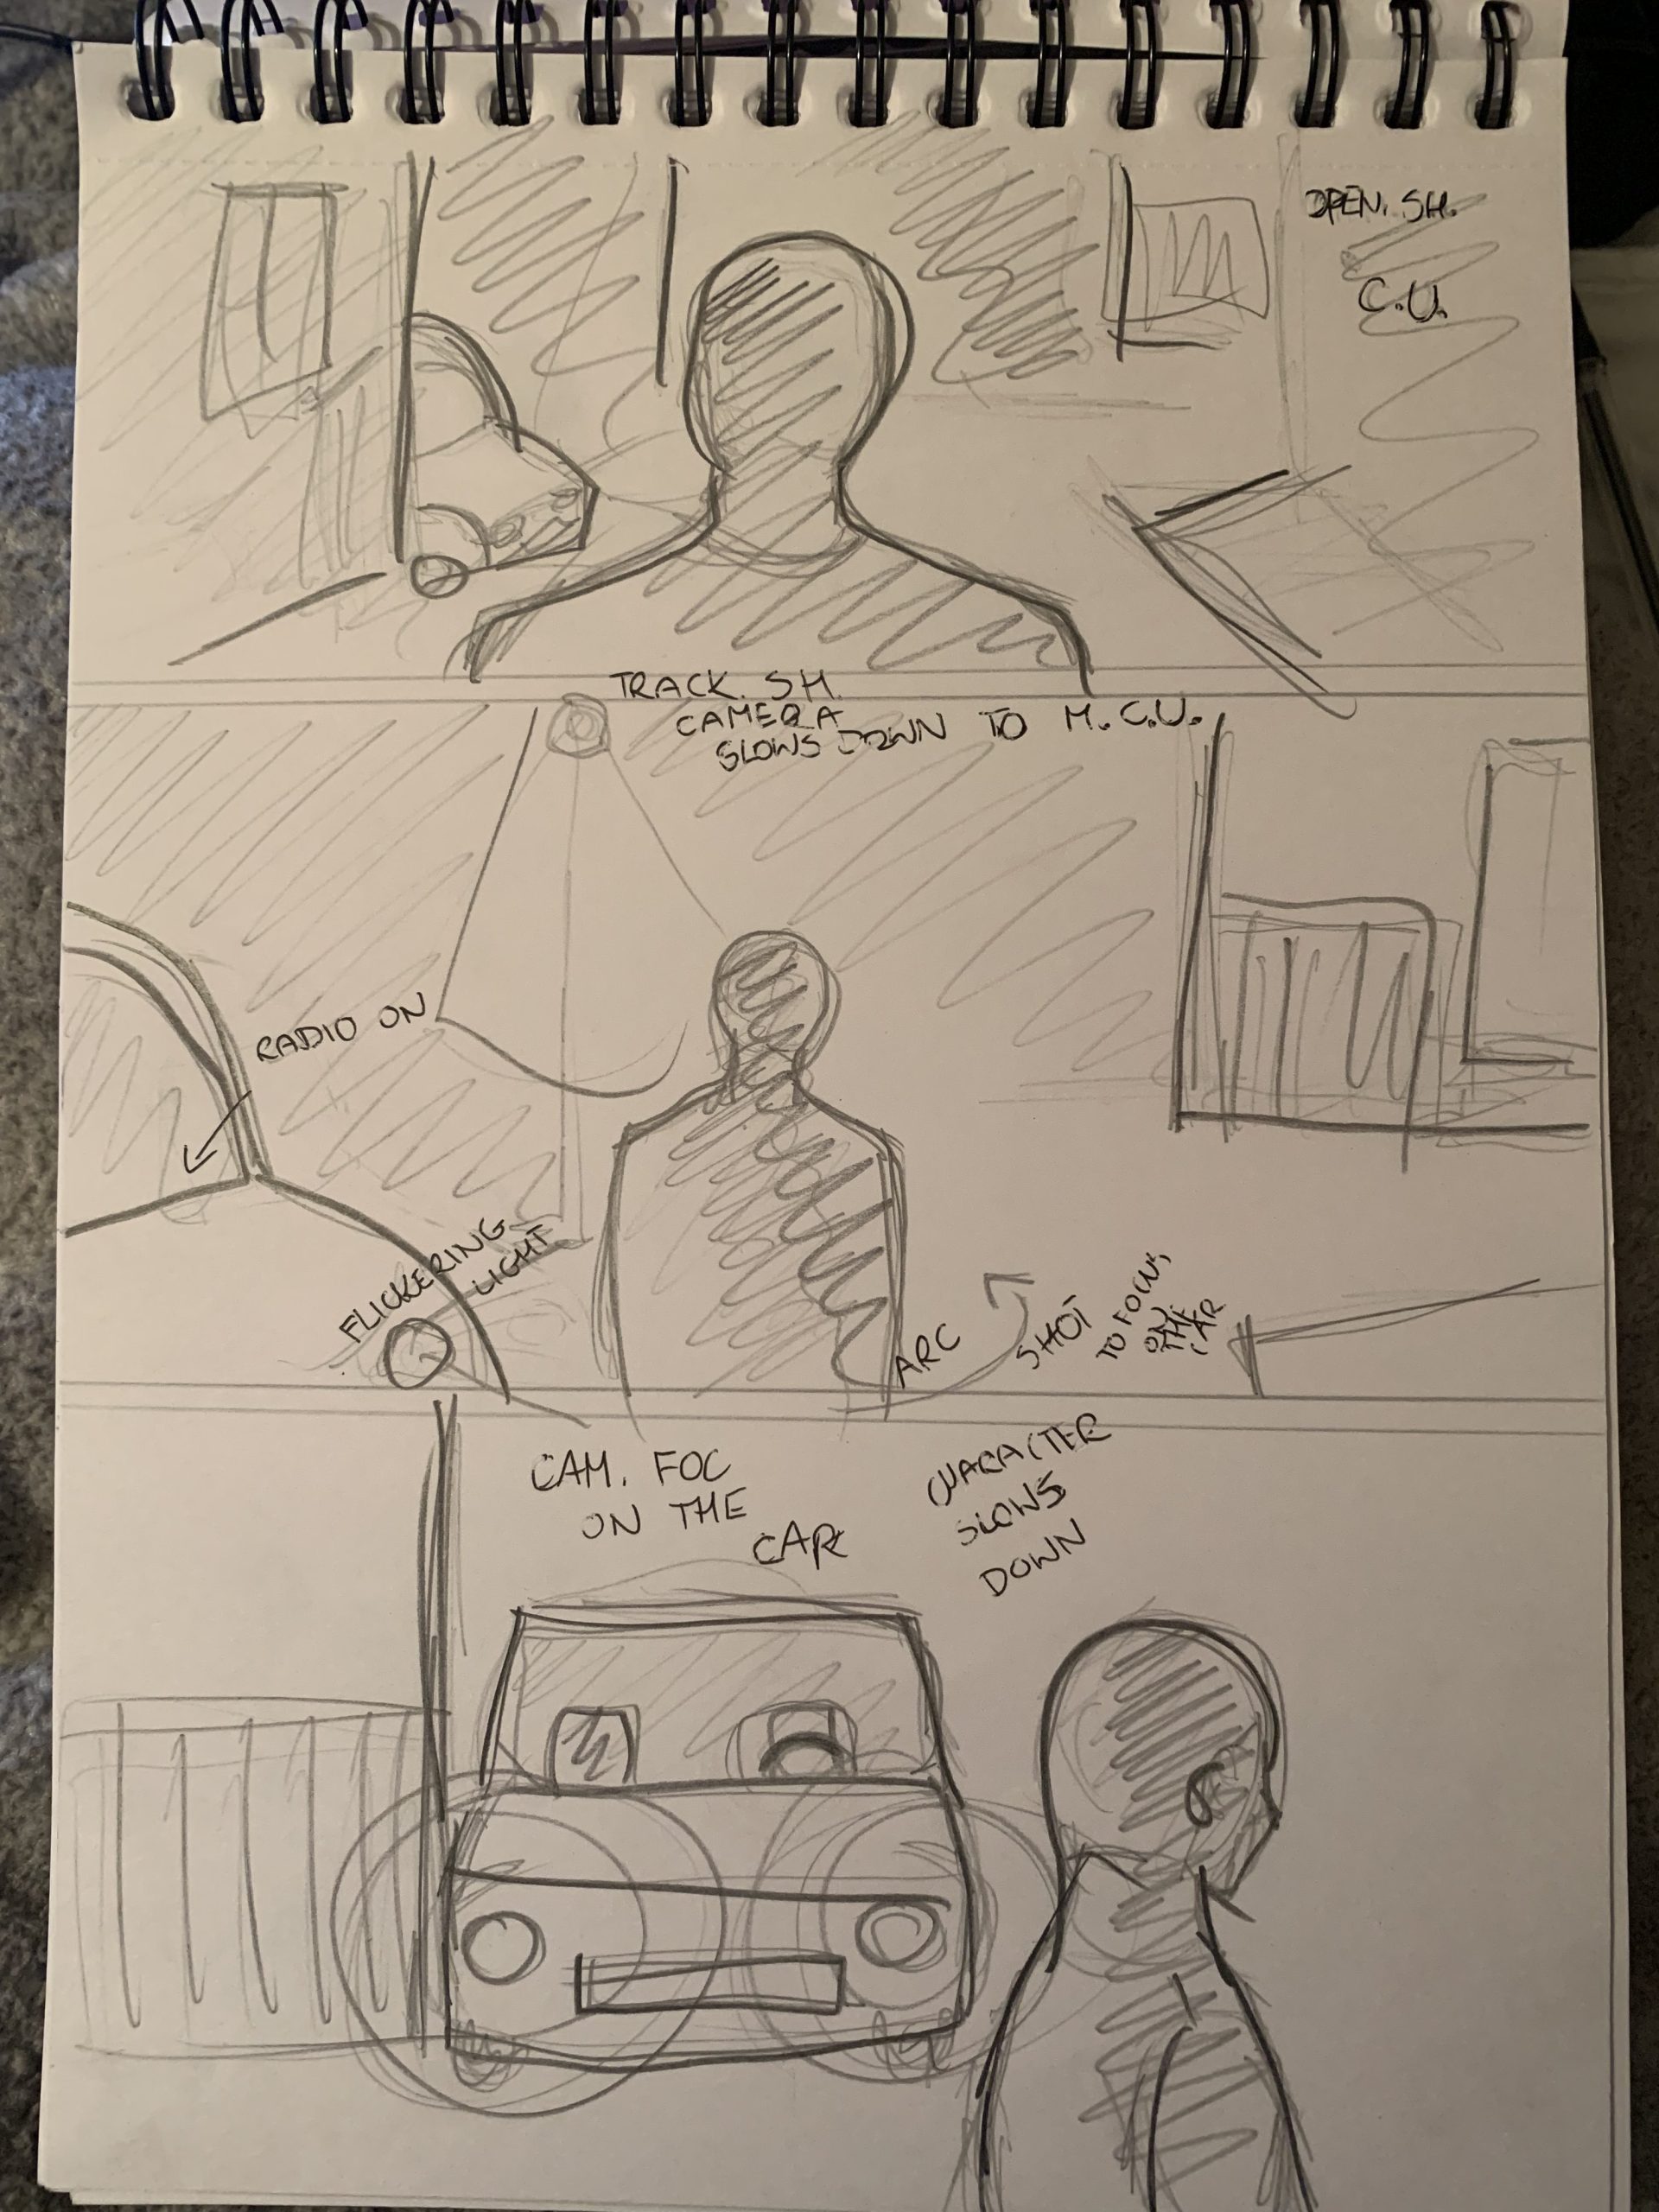
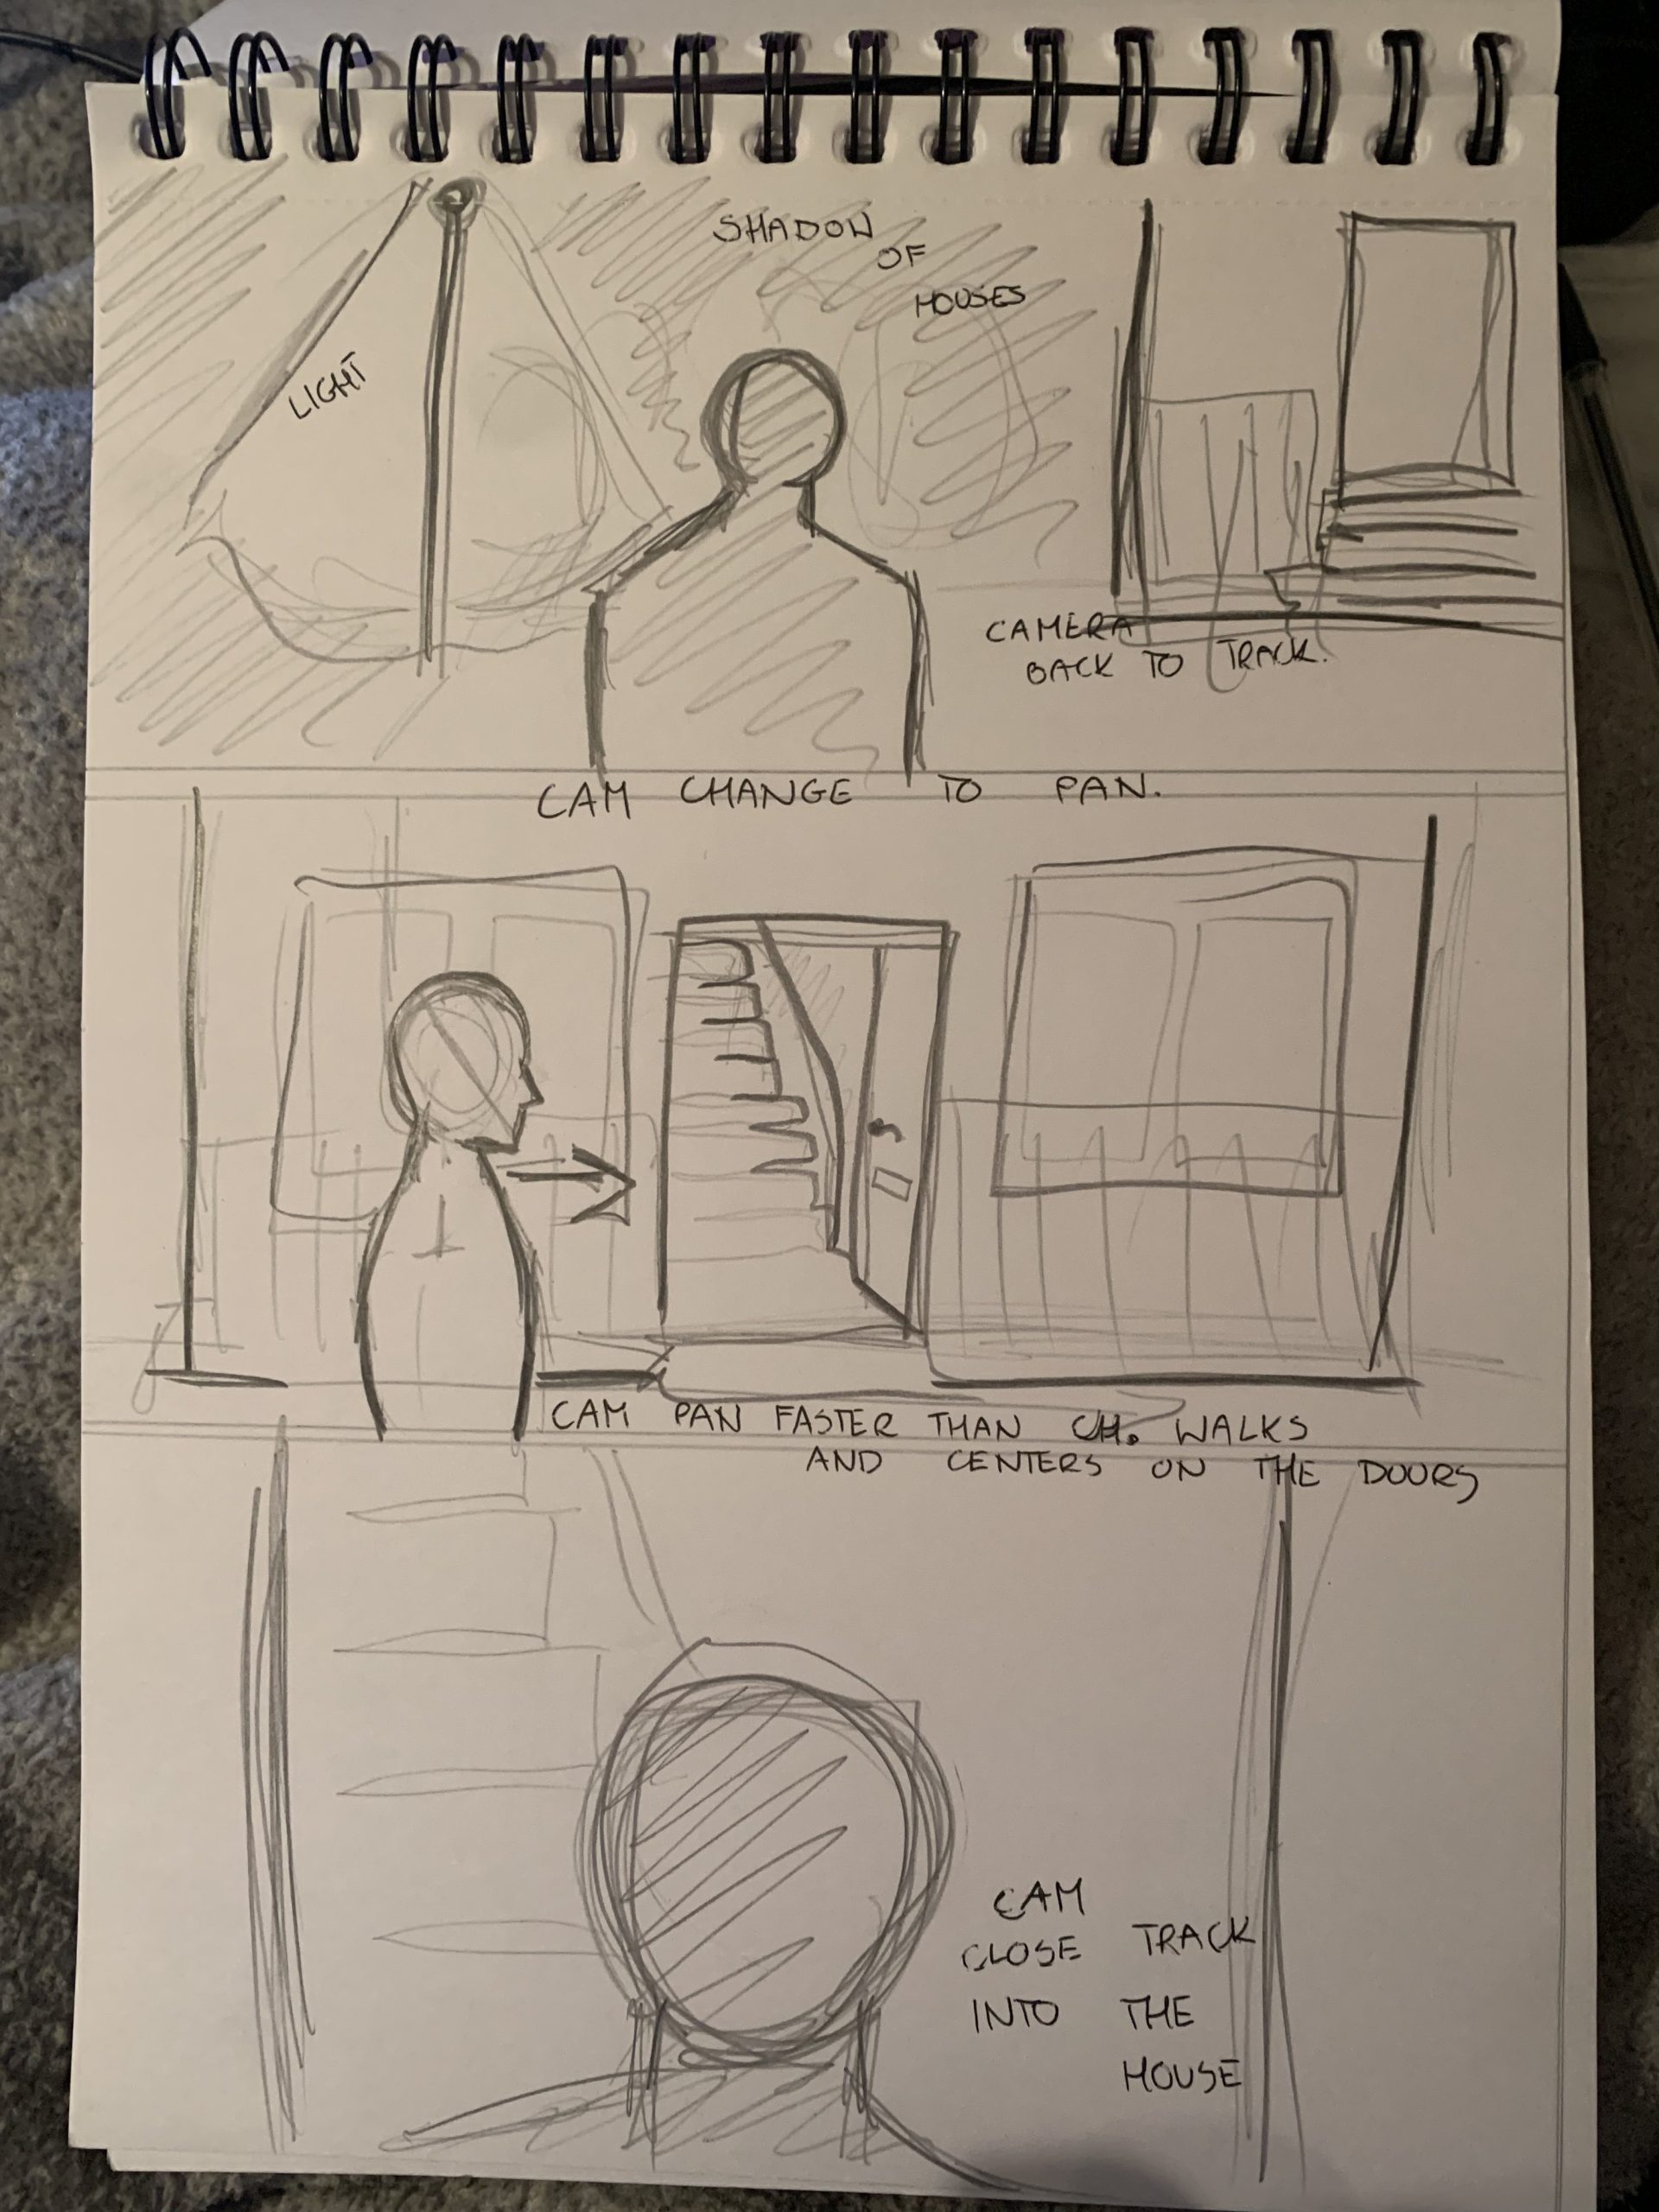
The main character hears syrens and leaves his house to see what is happening, weirded out by sudden silence. He suddenly sees lights in one of the buildings goes to investigate – on his way, he sees a car running, but it is empty inside, with a music coming out of it. Once he gets to the house, he can see a few items giving an impression that someone should be in the house, but it is empty. He then pays attention to the TV, which shows a Evacuation message. He promptly leaves the house, only to see a cloud of toxic smoke. He runs away, however the screen goes dark before the audience can find out if he made it our or not.
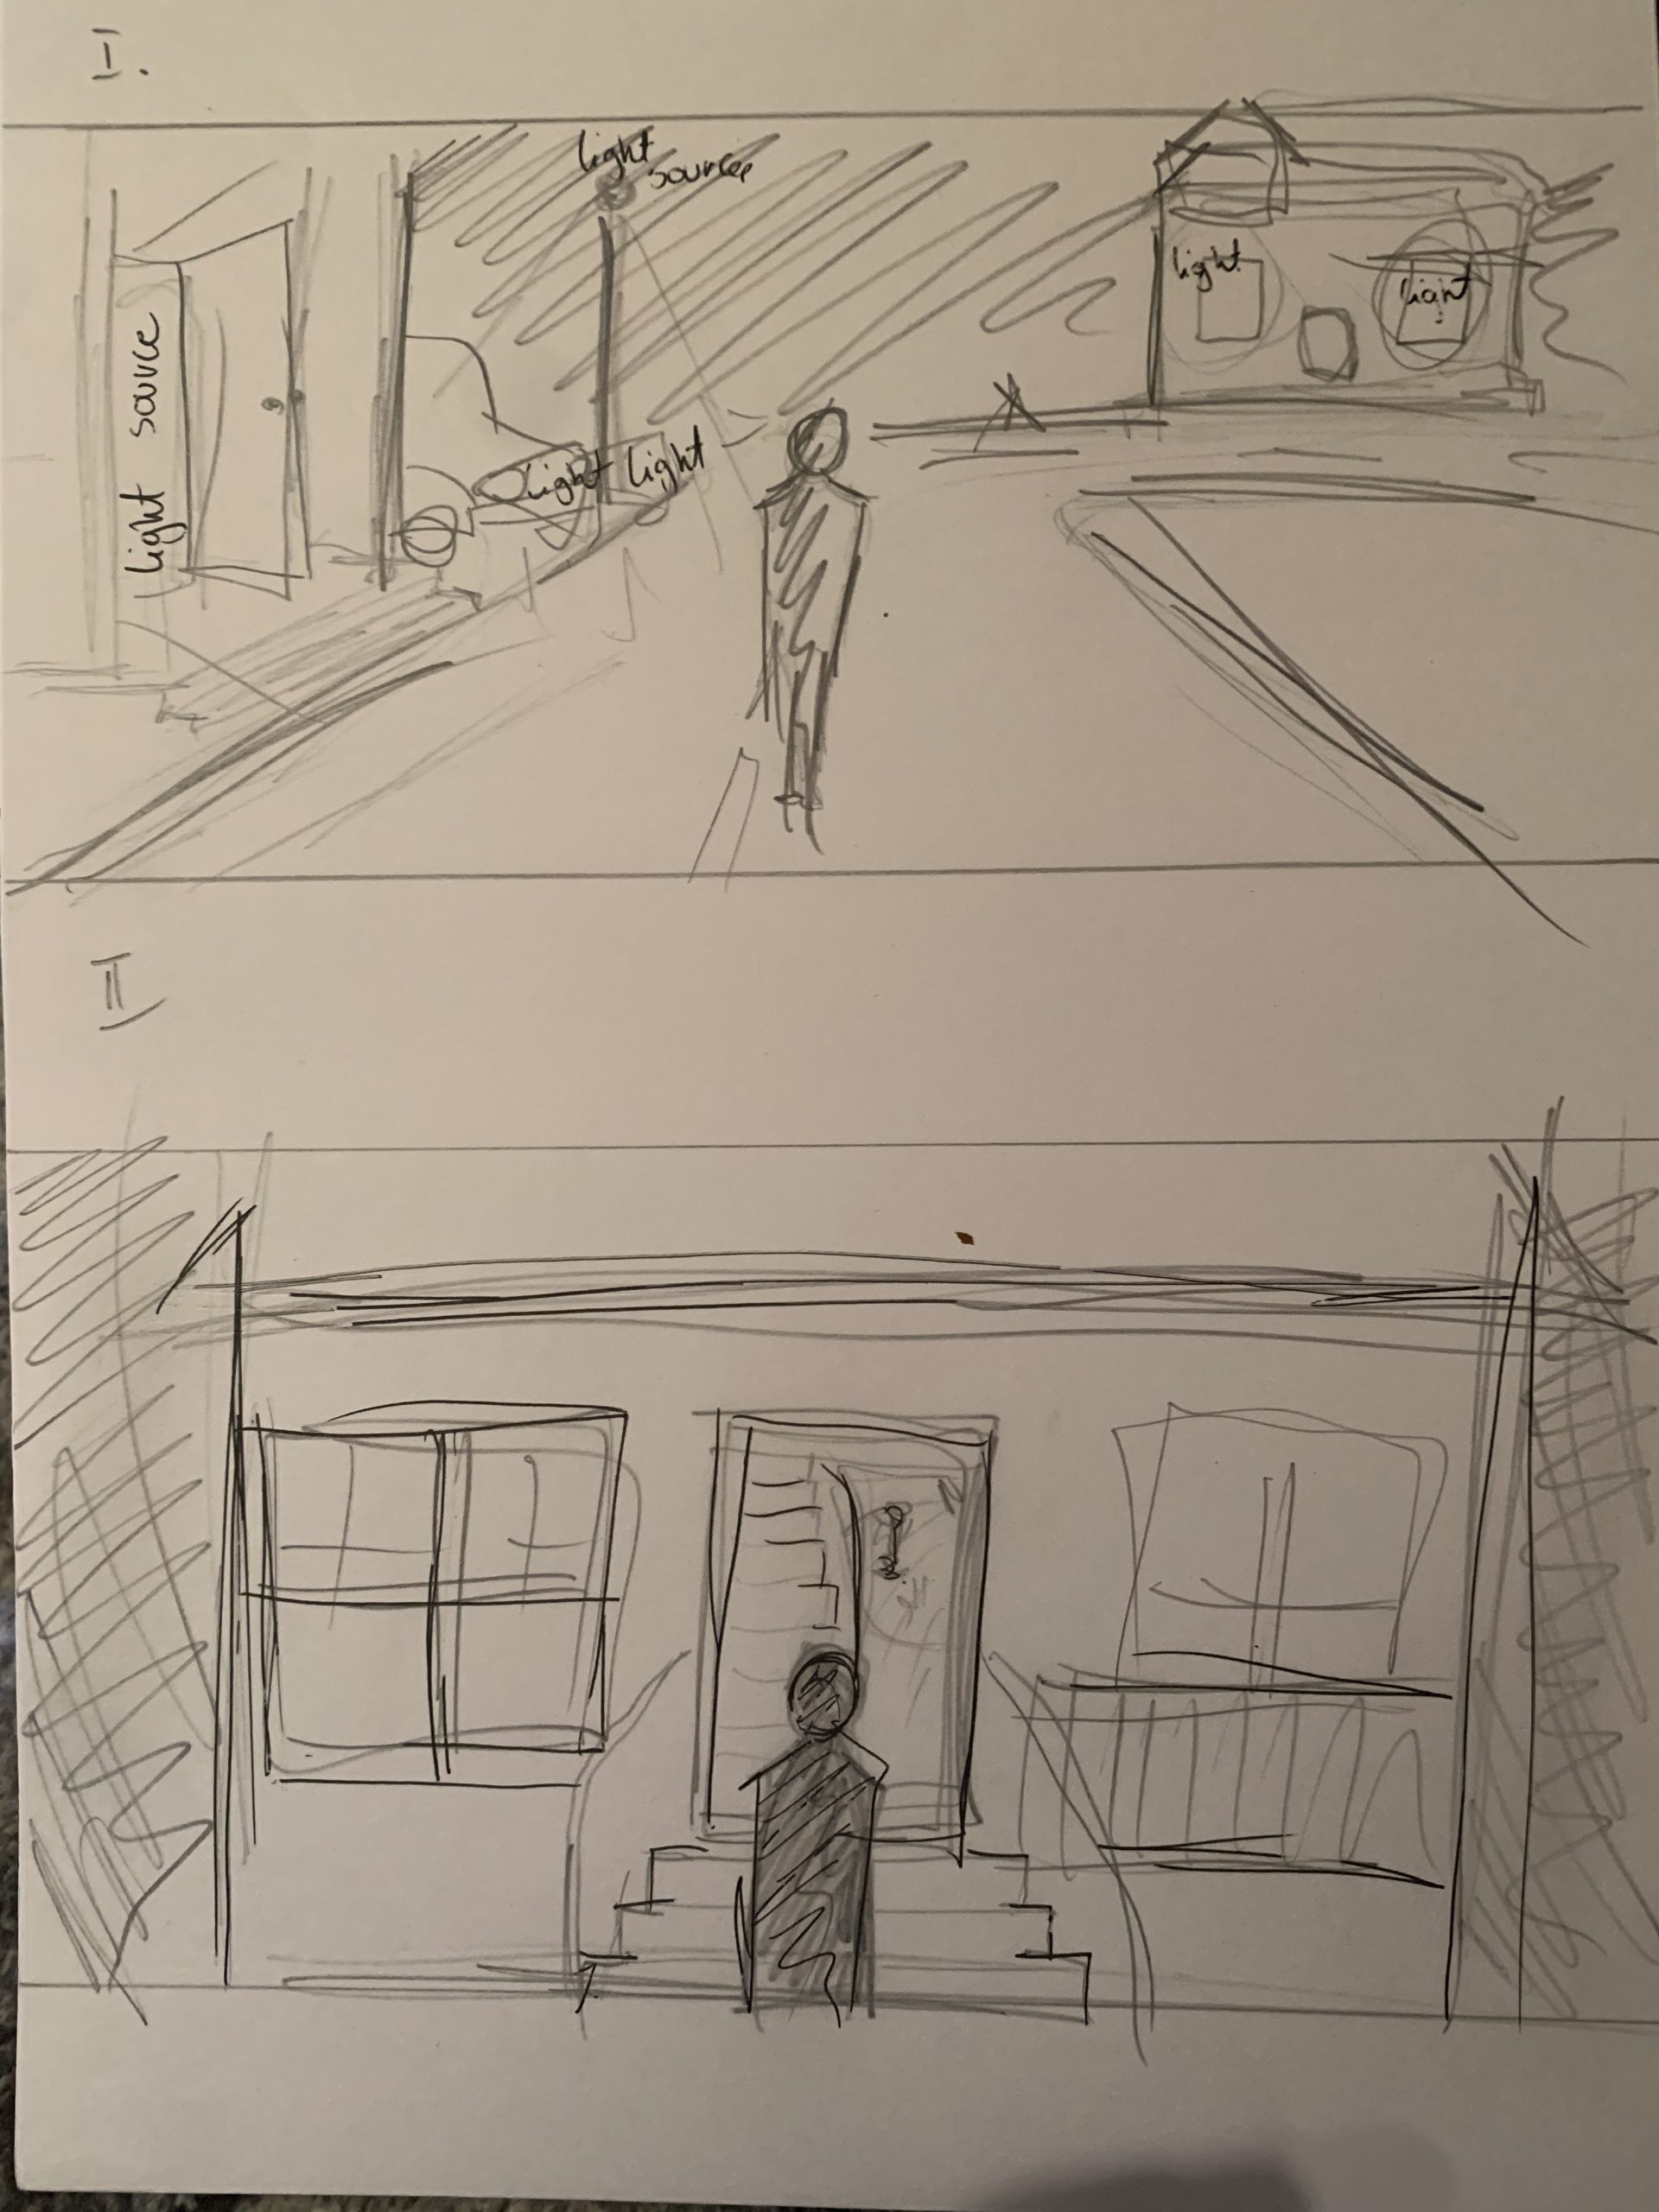
More detailed:
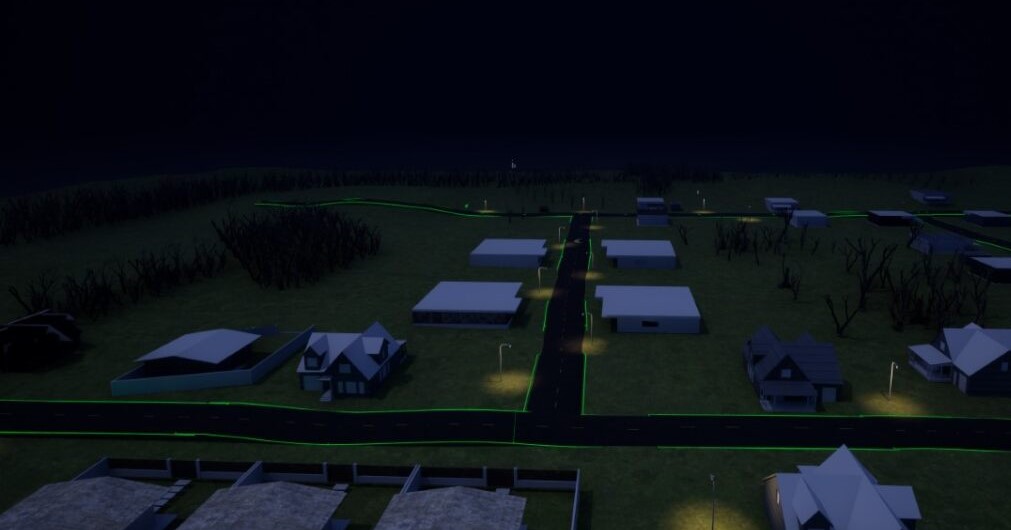
With all of that done, I started to design the environment.
I started my project in 3rd person view and created a grass field. Then, using Spline option in landscape, I created a road. I then started to look for assets, however I quickly realized that Suburbs are actually not that popular and it was much easier to find things related to Trailer Parks and I decided to slightly change my idea. At this point, I was not yet very skilled at finding free assets, however I found a few basic buildings. Although I was hoping to find something more detailed, it actually turned out quite well, as it gave me a freedom to customise them.
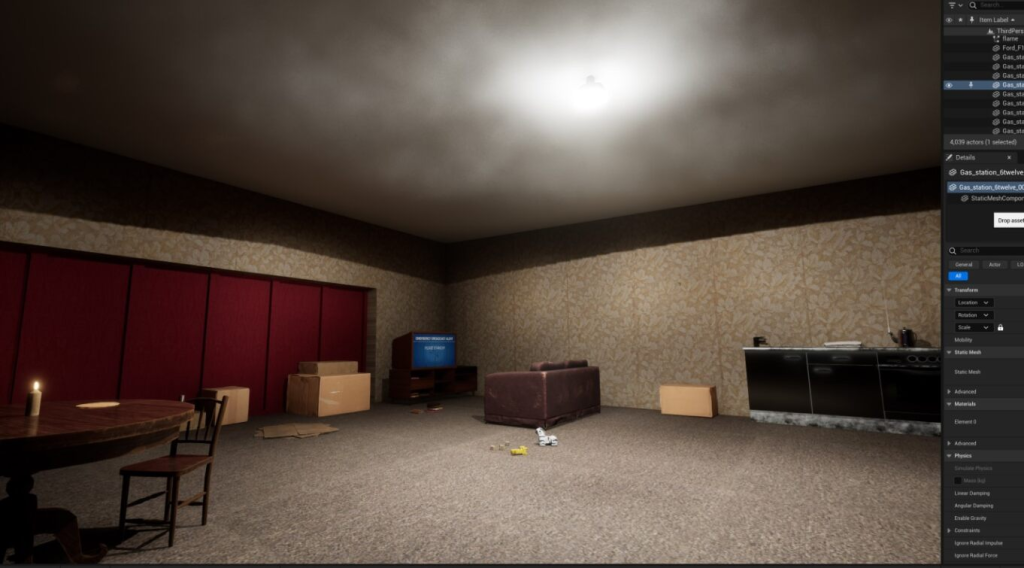
Next, I focused on the interior of the building my character was going to go into. This was also a moment to make a final decision on what effects I would like to have there. I opted for a kettle, ashtray and a tv inside, and a haze, rain and flickering lights outside. I ended up also adding a burning candle.
Because my time was limited, I did not want to spend too much time on the environment, so after completing building it to level enough for my walkthrough, I focused on light and vfxs, I did however continue to add assets in the meantime. Because of it, I also could not dress the house exactly how I wanted to, but I found a way around it and added a few boxes and a few things in a mess, giving an impression the owners just moved in, which justified the emptiness. All of the assets come from either Quixel Bridge or Sketchfab.
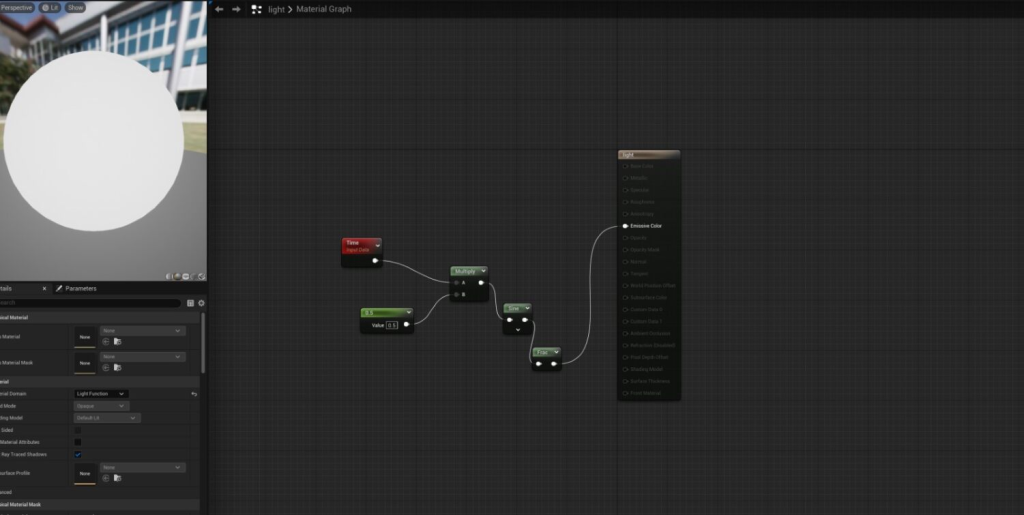
The first special effect I created was a flickering light and to do it, I used a tutorial XXX. It was very simple to create and involved following steps: X. I ended up using it a few times – in a car, lamppost and a bus stop, only changing a speed of the flickering for each one.
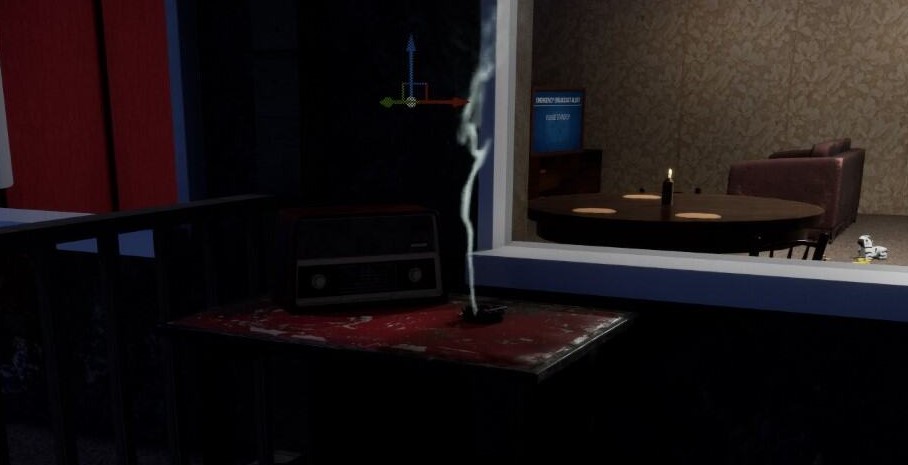
The next two effects, cigarette smoke and a kettle steam, ended up being quite similar in process, although I have used separate tutorials for both and made each from the scratch.
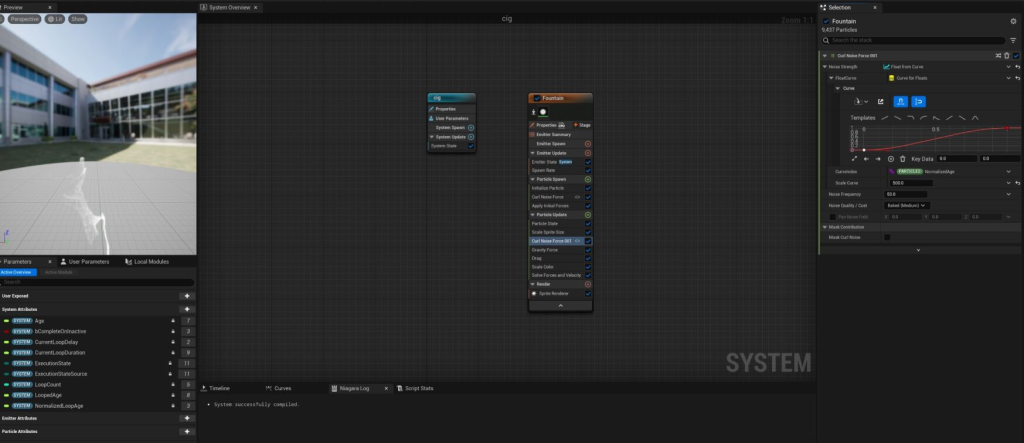
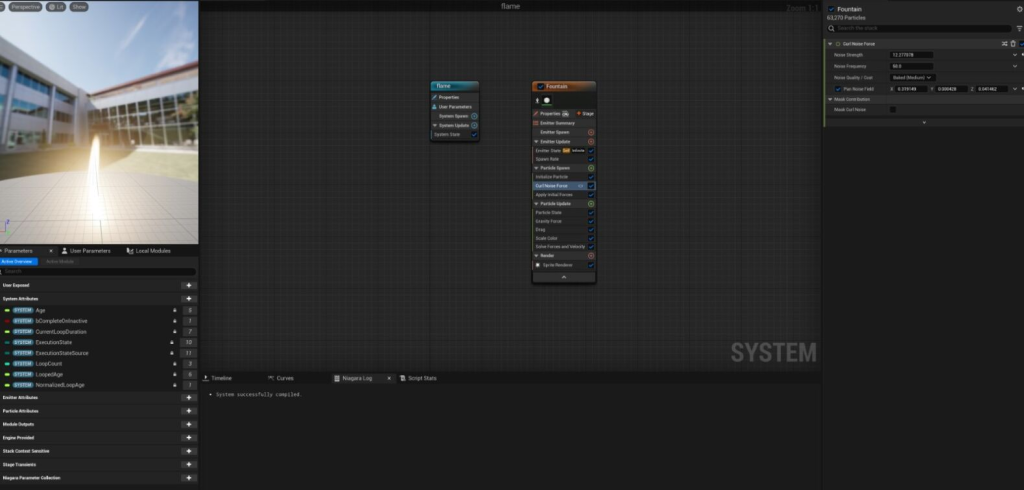
For the cigarette smoke, I used instructions by Coreb Games on Youtube. It involved creating a Nigara system in a form of a fountain, changing drastically Spawn Rate, then deleting Shape Location and Add Velocity and adding Curl Noise Force in Particle Spawn. Then, in Gravity Z I changed force value and changed the curve. The big two changes were also changing the colour to translusent as well as adding Float from Curve in Drag. I ended up not following the tutorial to the end, as I preferred how uneven the smoke was at this point, which worked as the smoke was suppoused to be set outside on a windy day.
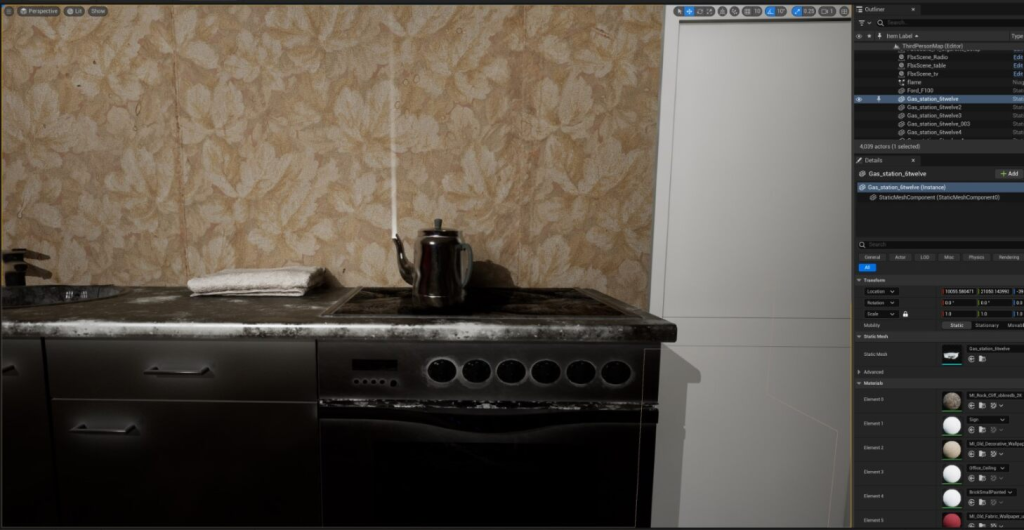
For the kettle steam I used instructions posted by Royal Skies on Youtube. Although I made it from separately from zero, it turned out to be a very similiar process to making a cigarette smoke. The biggest difference was making the Curl Noise much more softer, as well as adding way more particle for a thickness effect. I, again, ended up not following the tutorial to the letter, as I wanted a straight, thin vapor,
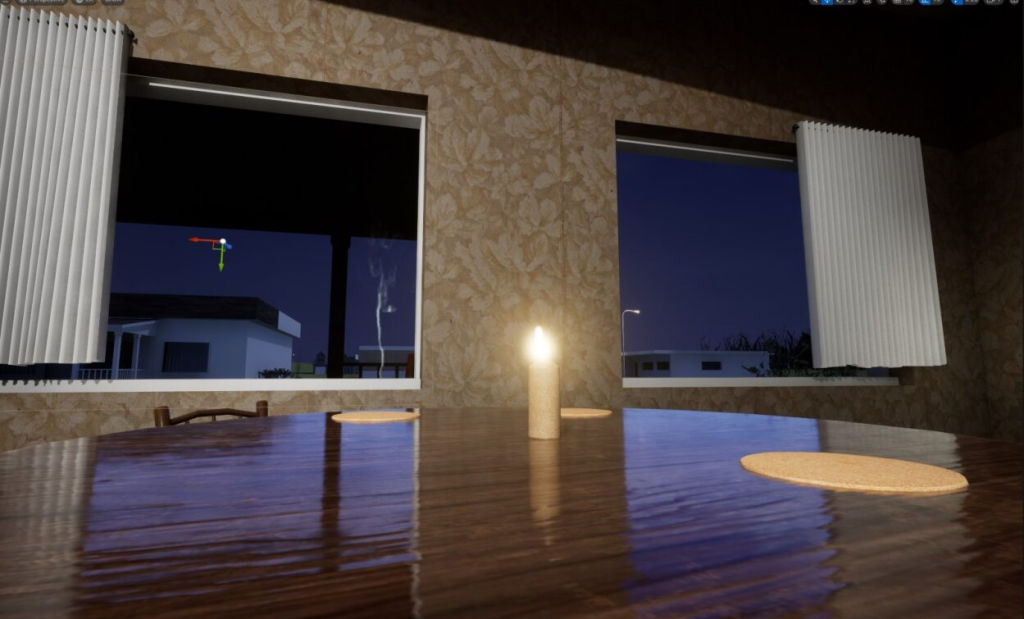
Instructions for those two vfxs being similar ended up being a good thing, as it inspired me to create my own effect completely by myself. While working on them, I realized that similar process could be used to make a candlelight. I created a new Niagara System and chose a fountain option. Then, in the Particle Update, I deleted Shape Location and Add Velocity and added a Curl Noise Force, changing the setting of it only slightly, much less then in the previous effects, to give it a flickering effect. I then experimented with the size of it, making sure that the vfx is bigger at the bottom, and, after finding the combination I though worked best, I changed the colour to orange.
The working TV was the hardest effect to make, as I was not at all familiar with the process. Initially, I was planning to simply find a TV asset and then add a video, import it into my environment as a Media Plate and fit it into it. However, it ended up looking very unnatural.
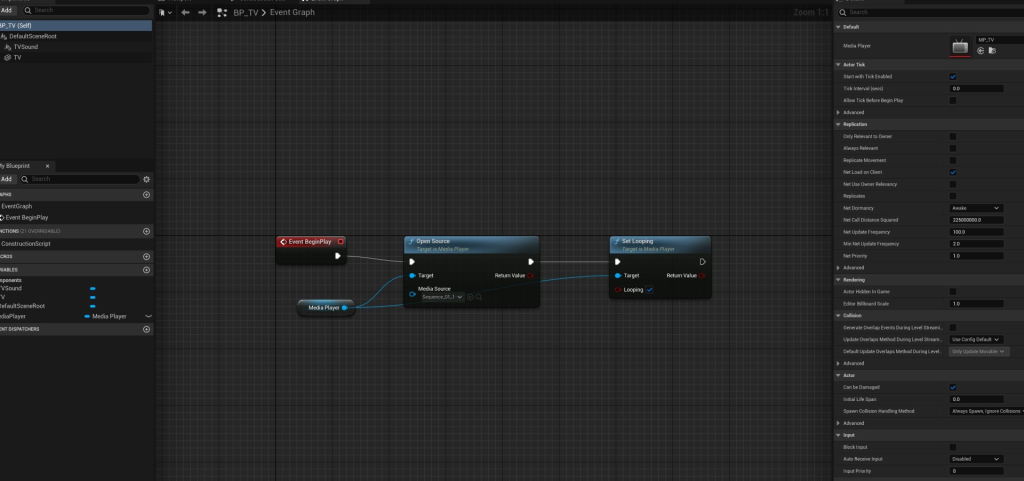
The process of making it, following instructions by InsertNameHereGameDev, included importing the video as a material. The model of the TV was made in Maya, as I have used this program in the past, making sure that there are two separate materials for the TV and the screen. I then created an actor blueprint, in which I opened the TV model. I then added the video in an Event Graph.
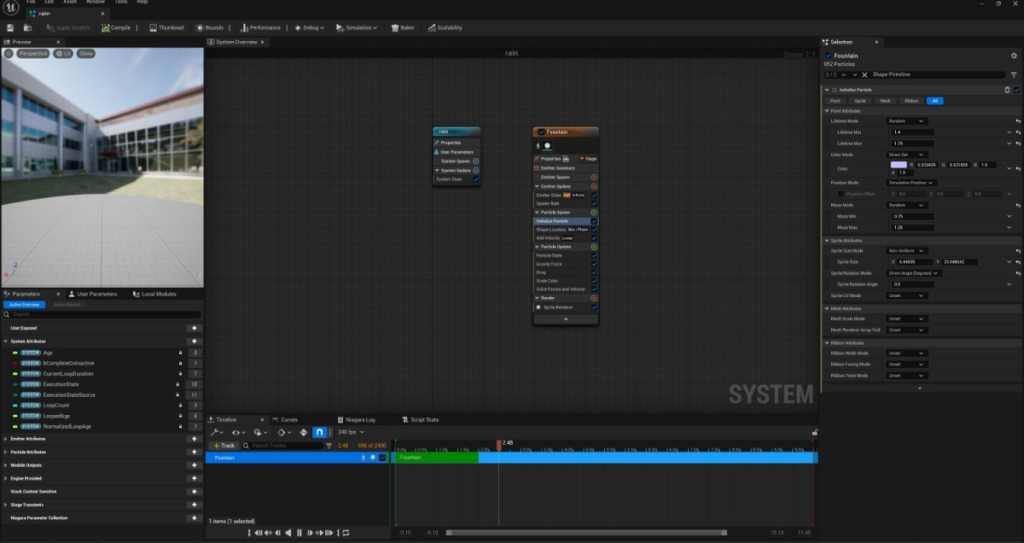
Last, I wanted to create a rain. I started up by following a tutorial by Matt Aspland on YouTube, which included creating a Niagara fountain system, deleting Sphere Location and Add Velocity in Cone, adding a Box Location and changing parameters of it. I then experimented with the Spawn Rate and Initialize Particle option. However, after completing a part of it and trying out different options in the meantime, I changed my mind of how I am going to use it – I made it bounce from the floor, made its particles bigger, changed the colour to red and mixed it with the already existing in Unreal Engine Cloud Effect, to enhance how unnatural it looks. I also added some lights, which reflected from the particles, enhancing the shine. The inspiration for the colour red was the Hex from recent Marvel films.
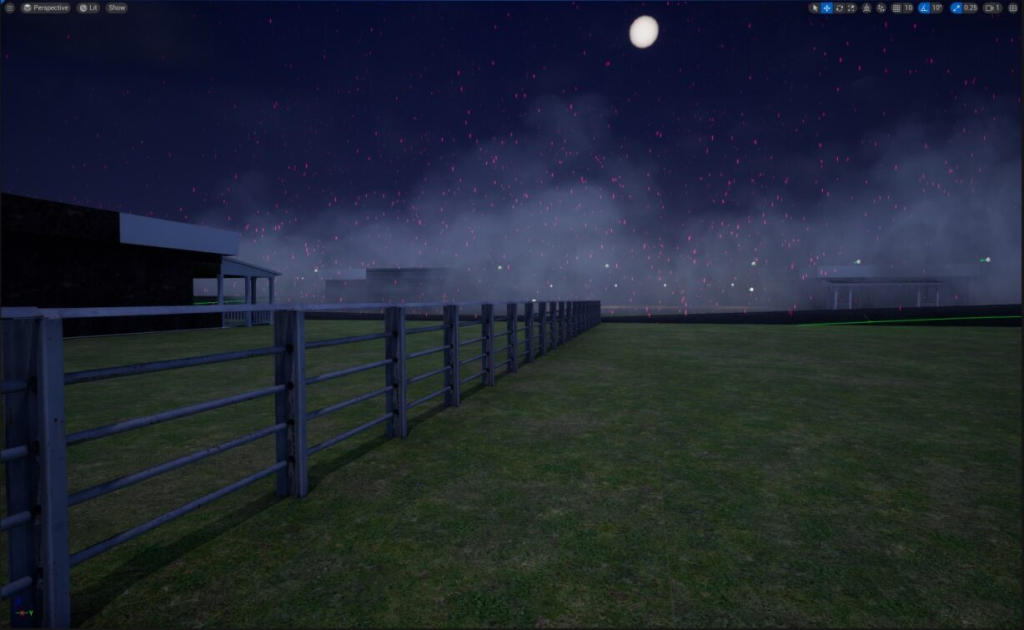
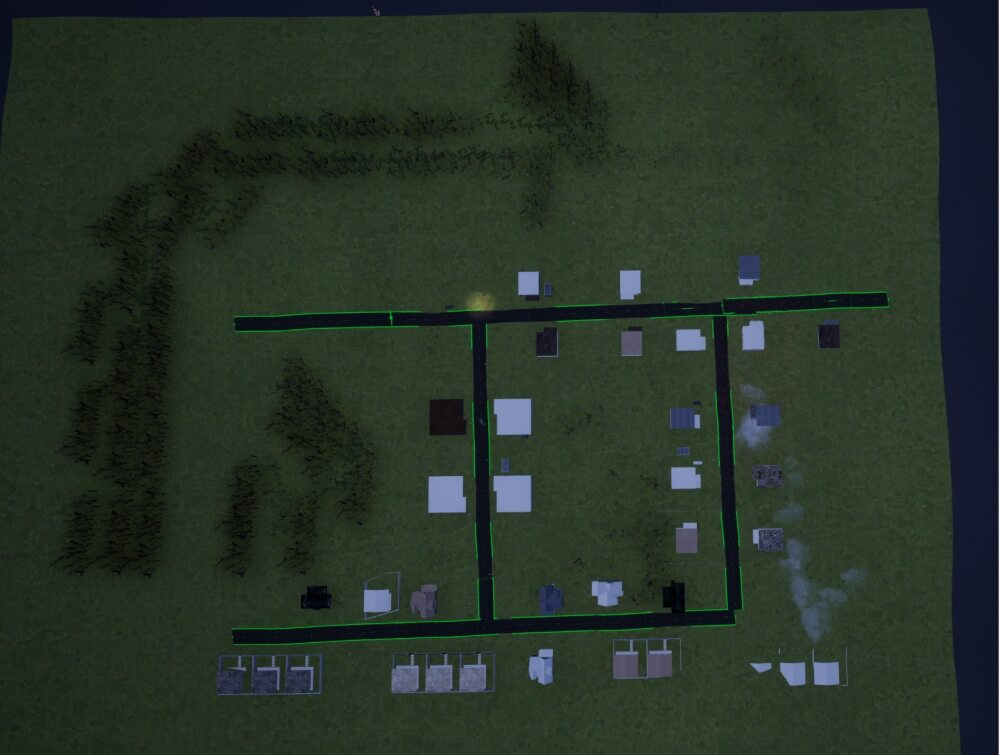
The final environment ended up looking like this:
I then recorded the story. Initially, I was planning to record it as a tracking shot, however I decided to do it in a first person, as it gave me a full control over how everything is being viewed and allowed me to, for example, add a natural camera shake in moments when the characters feels panicked.
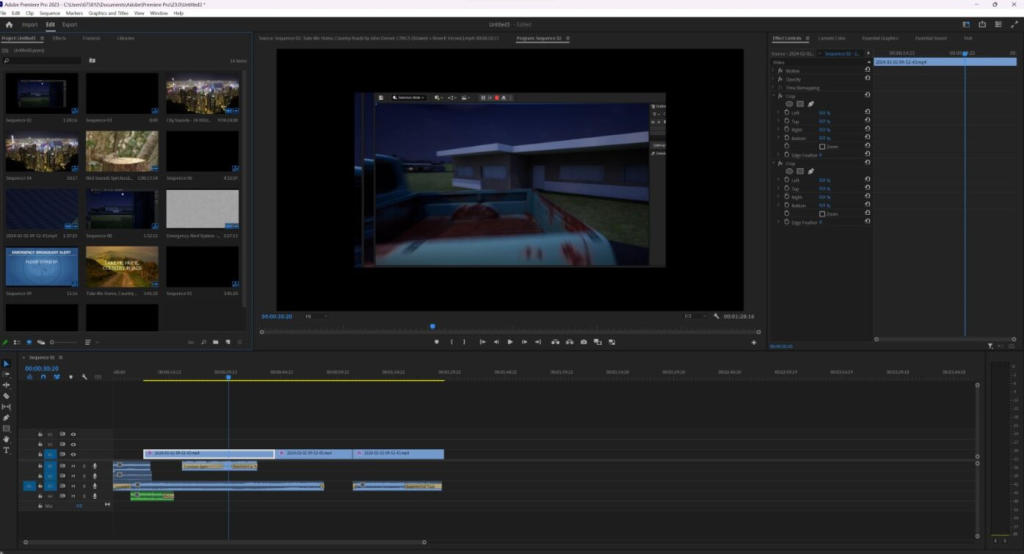
After recording it, I edited it in Premier Pro, mostly colour-graded it and added sounds and then upload it to YouTube.
Upon rewatching it, I wish I made it brighter, I am afraid I also made a mistake of focusing too much on the story and not showcasing the effects I have placed. If I had more time, I would definitely work more on the environment as well – I find the trees to be especially unnatural part. However, I feel like I completed the project in a way that makes sense, and definitely created what I set out myself to do. I am also happy to had a chance to get to know Unreal Engine, and I definitely learned proper basics to created more complex things in the future – I am currently planning to use it for my final year student film.
Tutorials used: